In today’s digital world, staying anonymous online isn’t just a nice-to-have—it’s a necessity. However, even with a VPN (Virtual Private Network), your privacy can still be at risk due to a leak of DNS. But don’t worry, we’re here to walk you through what a leak of DNSis, how to test for it, and what steps to take to fix it.
What is a DNS Leak and Why Should You Care?
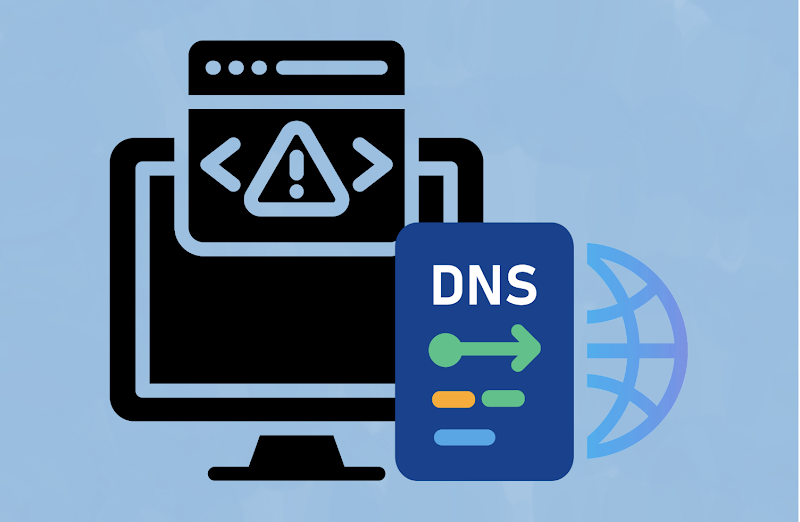
To understand leaks of DNS, let’s break down some basic terms:
- DNS (Domain Name System): This is like the internet’s phonebook. It turns website names (like Google.com) into the actual IP addresses (like 8.8.8.8) your computer needs to load the website.
- ISP (Internet Service Provider): This is the company that provides your internet connection.
When you type a website into your browser, your DNS request normally goes through your ISP’s servers. However, when you use a VPN, it should go through your VPN’s servers instead, keeping your activity hidden from your ISP. A DNS leak happens when, despite using a VPN, your requests still go to your ISP—exposing your browsing history.
If privacy is important to you, fixing a leak is crucial.

Common Causes of Leaks of DNS
Here are the typical reasons a leak of DNS might happen:
- VPN setup issues: Sometimes the VPN isn’t configured correctly, allowing your DNS requests to slip through the cracks.
- ISP trickery: Some ISPs use techniques like transparent DNS proxies to bypass your VPN.
- Public Wi-Fi problems: If you’re on free Wi-Fi and your VPN isn’t handling DNS requests correctly, it can lead to leaks.
Pro Tip: Check Split Tunneling
Some VPNs offer a feature called split tunneling, which lets you route some traffic outside the VPN. While handy, this can accidentally cause leaks of DNS if it’s not set up properly. Always make sure your split tunneling settings are configured to protect sensitive data.


How to Run a DNS Leak Test
Running a DNS leak test is super easy, and it’s something you can do in just a few minutes. Here’s how:
- Connect to your VPN. I use X-VPN, but any VPN with good security features should work.
- Go to a leak test for DNS sites like DNSleaktest.com or IPleak.net.
- Start an “Extended Test” to check if your DNS requests are leaking.
- Look at the results. If you see IP addresses that don’t belong to your VPN provider, you’ve got a leak.
This is something I personally do every couple of weeks, just to make sure my VPN is still functioning properly.
How to Read Leak Test of DNS Results
Now that you’ve run the test, what do the results mean?
- No leaks: Great news! Your DNS requests are secure, and your VPN is working correctly.
- Leaks detected: This means your DNS requests are going to your ISP instead of the VPN’s servers, which can compromise your privacy.
How to Fix a Leak of DNS
If you discover a leak of DNS, don’t panic—there are easy ways to fix it:
- Check your VPN settings: Many VPNs have a leak protection for DNS option you can enable. X-VPN is one example of a VPN with automatic leak protection for DNS.
- Manually change your DNS settings: If you’re a bit more tech-savvy, switch to a more secure DNS provider like Google DNS (8.8.8.8) or Cloudflare DNS (1.1.1.1).
- Use built-in protection: VPNs like Mullvad and ProtonVPN offer robust leak protection for DNS, and they’re great alternatives if you’re looking to explore beyond mainstream options.
Best Practices for Preventing Leaks of DNS
To prevent leaks of DNS, it’s a good idea to follow these best practices:
- Run regular leak tests for DNS: Don’t assume your VPN will always be leak-free. Running a test every few weeks ensures you catch any leaks early.
- Use a VPN with strong leak protection for DNS: VPNs like Mullvad, ProtonVPN, or X-VPN are excellent choices because they offer strong leak prevention.
- Avoid public Wi-Fi without a VPN: Always connect to a VPN before using public networks. Free Wi-Fi is a breeding ground for leaks of DNS and other security risks.
Bonus Tip: Explore Lesser-Known VPNs
While popular VPNs are solid choices, there are lesser-known VPNs like IVPN and Perfect Privacy that provide advanced privacy features, including strong leak protection for DNS. Exploring different options might help you find a VPN tailored to your needs.
Conclusion: Stay Safe and Secure
Your online privacy is only as strong as your VPN’s ability to protect your DNS requests. By regularly running a leak test of DNS and using a trustworthy VPN you can ensure that your browsing stays private. Small steps like these can make a huge difference in securing your data against prying eyes.
In short, don’t wait until a leak happens—test your connection, fix any issues, and stay proactive in keeping your online activity safe!